Buckwheat Bread Recipe: Top 3 Tips for Ultimate Softness
Table of Contents
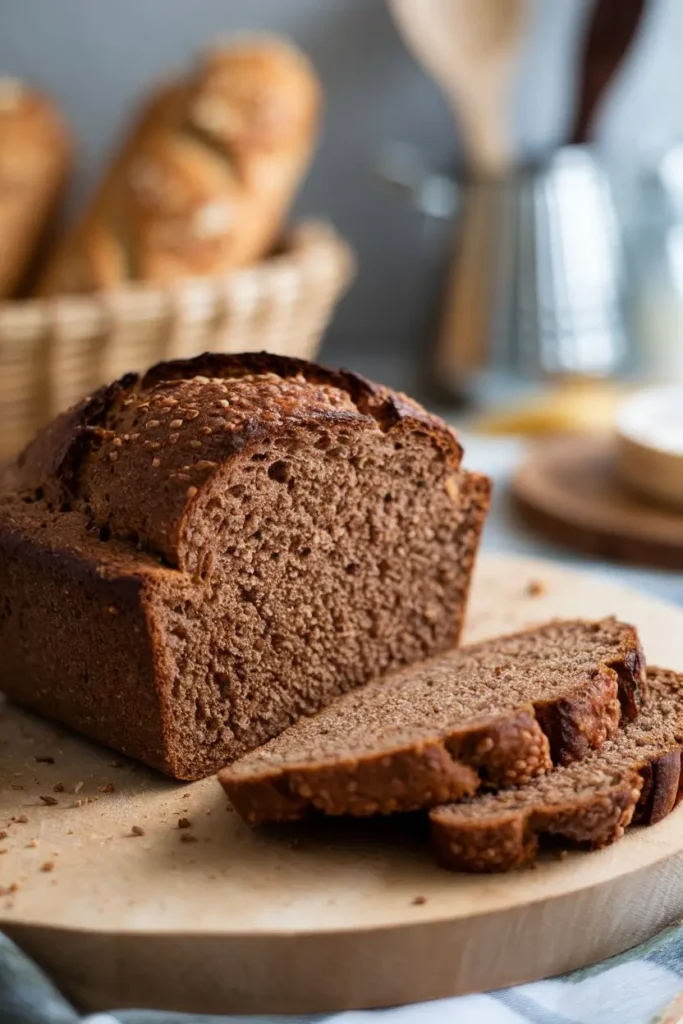
Buckwheat Bread Recipe
Have you ever wondered why artisanal bakeries charge premium prices for rustic buckwheat bread when you could make an even better version at home? The secret lies not in fancy equipment, but in understanding the unique properties of buckwheat flour and a few simple techniques that transform ordinary ingredients into extraordinary bread.
This buckwheat bread recipe combines the nutty, earthy flavors of buckwheat with traditional bread-making methods to create a loaf that’s both nutritious and deliciously complex in flavor. Whether you’re gluten-sensitive or simply looking to diversify your baking repertoire, this recipe promises a satisfying baking experience.
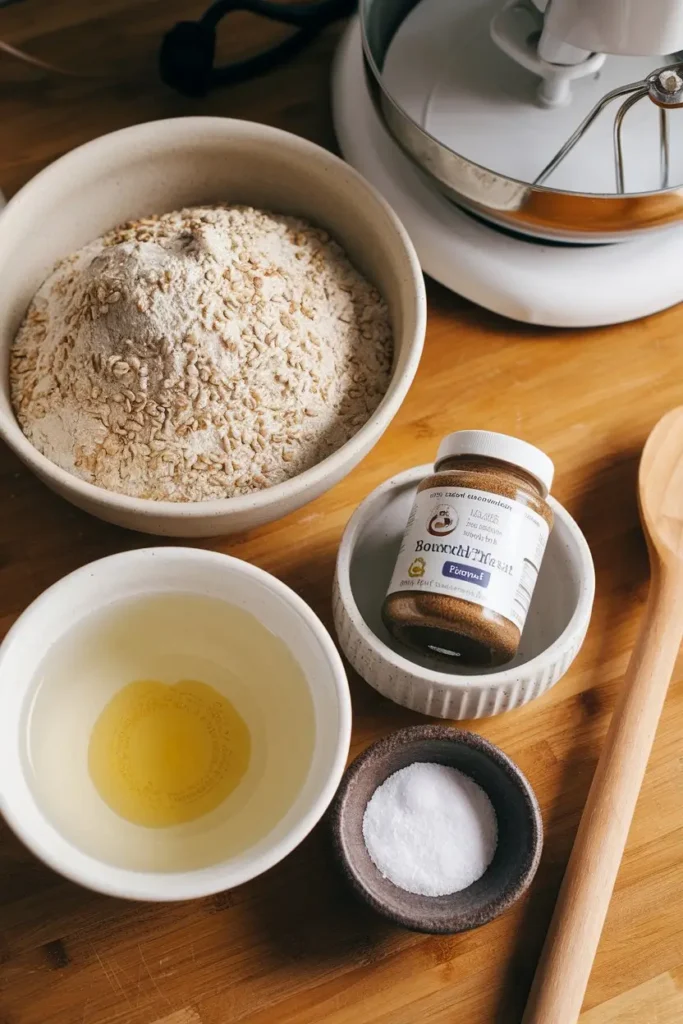
Ingredients List
- 1 cup (120g) buckwheat flour – The star ingredient that provides the distinctive flavor and nutrition. For a milder taste, you can substitute up to half with white rice flour.
- 2 cups (240g) all-purpose flour – Creates structure. For a gluten-free version, substitute with a high-quality gluten-free flour blend.
- 1 1/2 teaspoons active dry yeast – Instant yeast works too, reducing rise time by about 15 minutes.
- 1 1/2 teaspoons salt – Sea salt or kosher salt provides better flavor than table salt.
- 1 tablespoon honey – Feeds the yeast and adds subtle sweetness. Maple syrup makes an excellent vegan alternative.
- 1 tablespoon olive oil – Adds moisture and richness. Melted butter can be substituted for a different flavor profile.
- 1 1/4 cups (300ml) warm water – Temperature should be 105-110°F (40-43°C) to properly activate yeast without killing it.
- 2 tablespoons sunflower seeds (optional) – For added texture and nutrition.
- 1 tablespoon flaxseeds (optional) – Enhances the rustic appeal and nutritional profile.
Timing
Preparation time: 25 minutes of active work, plus 15 minutes to gather and measure ingredients.
Rising time: 1 hour 30 minutes total (two rises of 45 minutes each), which is actually 20% less than traditional wheat bread due to buckwheat’s unique properties.
Baking time: 35-40 minutes, with an additional 10 minutes cooling in the pan.
Total time: Approximately 2 hours 50 minutes from start to finish, though only about 40 minutes requires active attention.
Step-by-Step Instructions
Step 1: Activate the Yeast
In a small bowl, combine the warm water (105-110°F) with honey and yeast. Stir gently and let sit for 5-10 minutes until foamy. This proofing step ensures your yeast is alive and active, saving you from discovering a non-rising dough later in the process.
Step 2: Mix Dry Ingredients
In a large mixing bowl, whisk together the buckwheat loaf bread recipe flour, all-purpose flour, and salt. If using seeds, add them now. Create a well in the center for the wet ingredients. Buckwheat flour tends to clump, so sifting or thorough whisking is recommended.
Step 3: Form the Dough
Pour the activated yeast mixture and olive oil into the well of dry ingredients. Mix with a wooden spoon until a shaggy dough forms. Turn onto a lightly floured surface and knead for 8-10 minutes until smooth and elastic. Buckwheat creates a stickier dough than wheat-only bread, so resist adding too much extra flour.
Step 4: First Rise
Place the dough in an oiled bowl, turning once to coat. Cover with a damp cloth or plastic wrap and let rise in a warm place for 45 minutes, or until doubled in size. For optimal rising, aim for an ambient temperature of 75-80°F (24-27°C).
Step 5: Shape the Loaf
Punch down the dough to release air bubbles. On a lightly floured surface, shape into a loaf. For a traditional loaf, fold the dough like an envelope, then roll tightly. For a rustic boule, simply form into a round, pulling the surface tight.
Step 6: Second Rise
Place the shaped dough in a greased 9×5-inch loaf pan or on a parchment-lined baking sheet (for a boule). Cover and let rise for another 45 minutes until visibly puffy. During the last 20 minutes of rising, preheat your oven to 375°F (190°C).
Step 7: Bake to Perfection
Before baking, score the top with a sharp knife to allow for expansion. For a crustier loaf, place a shallow pan of water on the bottom rack of the oven to create steam. Bake for 35-40 minutes until the crust is golden brown and the loaf sounds hollow when tapped on the bottom.
Nutritional Information
Each slice (assuming 12 slices per loaf) provides approximately:
Calories: 145 kcal
Carbohydrates: 27g
Protein: 4g
Fat: 2.5g
Fiber: 2g
Iron: 6% of RDI
Magnesium: 8% of RDI
Buckwheat is particularly notable for its high levels of rutin and quercetin, antioxidants that support heart health and reduce inflammation. Studies suggest that regular consumption of buckwheat may help lower cholesterol and improve blood sugar control, making this buckwheat bread recipe not just delicious but nutritionally superior to conventional wheat bread.
Healthier Alternatives for the Recipe
For a 100% gluten-free version, replace the all-purpose flour with a blend of 1 cup brown rice flour, 1/2 cup potato starch, and 1/2 cup tapioca flour, plus 1 teaspoon xanthan gum. This maintains structure while eliminating gluten entirely.
Boost the protein content by adding 1/4 cup of hemp seeds or chopped walnuts to the dough. This addition increases satiety and adds heart-healthy omega-3 fatty acids.
Reduce the glycemic impact by substituting the honey with monk fruit sweetener or stevia (use half the amount). This makes the bread more suitable for those monitoring blood sugar levels.
For a fiber boost, add 2 tablespoons of psyllium husk to the dry ingredients. This not only improves digestive health but also helps create a better texture in gluten-free variations.
Serving Suggestions
Transform this rustic bread into an elegant breakfast by toasting and topping with avocado, microgreens, and a poached egg. The earthiness of the buckwheat bread recipe perfectly complements the creamy avocado.
Create a memorable cheese board featuring this bread sliced thinly alongside aged cheeses like Gruyère or Manchego. The nutty notes in both the bread and cheese create a harmonious pairing.
For a satisfying lunch, use slightly thicker slices for sandwiches with roasted vegetables, hummus, and fresh herbs. The robust texture stands up well to hearty fillings without becoming soggy.
Repurpose day-old bread into rustic croutons for soups and salads by cubing, tossing with olive oil and herbs, and baking until crisp. The distinctive buckwheat flavor adds depth to even simple dishes.
Common Mistakes to Avoid
- Using old buckwheat flour – Due to its high oil content, buckwheat flour can go rancid quickly. Always use fresh flour, preferably stored in the refrigerator, for the best flavor and rising potential.
- Overworking the dough – Buckwheat contains no gluten, so excessive kneading won’t develop structure and can make the bread dense. Knead just until cohesive.
- Using water that’s too hot – Temperatures above 115°F will kill yeast. Use a thermometer if you’re unsure about water temperature.
- Rushing the rise – While buckwheat bread rises faster than traditional wheat bread, cutting the rise time too short results in dense, under-developed flavor. Patience yields better bread.
- Cutting into the bread immediately – Allow the bread to cool for at least 30 minutes before slicing. Cutting too soon releases steam and can create a gummy texture.
Storing Tips for the Recipe
Store completely cooled bread in a paper bag or bread box at room temperature for up to 3 days. Avoid plastic bags, which trap moisture and accelerate mold growth, particularly problematic with buckwheat’s higher moisture content.
For longer storage, slice the entire loaf once completely cool, then freeze in a zip-top bag with parchment paper between slices. This allows you to thaw individual slices as needed for up to 3 months without quality loss.
Refresh slightly stale bread by sprinkling with water and heating in a 350°F oven for 5-10 minutes. This reactivates the crust and restores moisture to the crumb, making day-old bread taste freshly baked.
For meal prep, mix the dry ingredients ahead of time and store in an airtight container for up to a month. This cuts preparation time in half when you’re ready to bake.
Conclusion
This buckwheat bread recipe offers the perfect balance between rustic tradition and modern nutrition. By following these carefully tested techniques and avoiding common pitfalls, you’ll create a loaf that rivals artisanal bakeries at a fraction of the cost.
Have you tried making buckwheat bread before? Share your experience in the comments below, or tag us in your bread-baking photos on social media! And if you enjoyed this recipe, don’t forget to explore our collection of other ancient grain recipes that bring forgotten flavors back to your modern table.