Ninja Creami Recipes: 5 Best DIY Frozen Treats That Wow
Table of Contents
Introduction
Did you know that homemade ice cream contains up to 70% less air than store-bought varieties, resulting in a creamier, more luxurious texture? This surprising fact is just one reason why the Ninja Creami has revolutionized how we enjoy frozen desserts at home. Craving a cool twist on dessert? Explore ninja creami recipes for easy DIY frozen treats, quick tips, and flavorful hacks.
The Ninja Creami’s innovative technology breaks down ice crystals more effectively than traditional ice cream makers, creating silky-smooth desserts with minimal effort. Whether you’re looking for Ninja Creami recipes healthy options or indulgent creations, these five spectacular recipes will transform your dessert game forever.
Ingredients List
For Classic Vanilla Bean Dream:
- 2 cups heavy cream (substitute: coconut cream for dairy-free option)
- 1 cup whole milk (substitute: almond milk)
- ¾ cup granulated sugar (substitute: monk fruit sweetener)
- 2 whole vanilla beans, split and scraped (substitute: 1 tablespoon pure vanilla extract)
- Pinch of sea salt
For Chocolate Peanut Butter Swirl:
- 2 cups whole milk (substitute: oat milk)
- ½ cup unsweetened cocoa powder
- ¾ cup sugar (substitute: honey)
- ⅓ cup natural peanut butter (substitute: almond butter)
- 1 teaspoon vanilla extract
- Pinch of salt
For Berry Yogurt Swirl:
- 2 cups Greek yogurt (substitute: coconut yogurt)
- 1 cup mixed berries (fresh or frozen)
- ⅓ cup honey or maple syrup
- 1 tablespoon lemon juice
- ½ teaspoon vanilla extract
For Matcha Green Tea:
- 2 cups heavy cream (substitute: cashew cream)
- 1 cup whole milk
- ½ cup sugar
- 2 tablespoons high-quality matcha powder
- 1 teaspoon vanilla extract
For Tropical Coconut Mango:
- 1 can (13.5 oz) full-fat coconut milk
- 1 cup ripe mango chunks
- ⅓ cup sugar
- 1 tablespoon lime juice
- ¼ teaspoon coconut extract (optional)
Timing
These ninja creami recipes require approximately 24 hours from start to finish, but the active preparation time is just 15 minutes – 65% less hands-on time than traditional ice cream methods. The freezing process takes 24 hours, and the final processing in the Ninja Creami takes just 5 minutes, making these desserts perfect for planning ahead for gatherings.
Step-by-Step Instructions
Step 1: Prepare Your Base Mixture
Combine your liquid ingredients first (cream, milk, etc.) in a blender or food processor. For the Classic Vanilla, whisk together cream, milk, sugar, vanilla bean seeds, and salt until sugar is fully dissolved. For Chocolate Peanut Butter, blend milk, cocoa powder, sugar, and vanilla until smooth, then warm slightly to incorporate peanut butter. The key is ensuring your mixture is completely smooth before freezing.
Step 2: Adjust Sweetness and Flavor
Taste your base mixture before freezing and adjust sweetness or flavor intensity. Remember that cold temperatures slightly dull flavors, so your mixture should taste slightly sweeter than desired in the final product. For the Berry Yogurt Swirl, you might want to increase honey by 1-2 tablespoons if your berries are particularly tart.
Step 3: Prepare for Freezing
Pour your mixture into the Ninja Creami pint containers, leaving about ½ inch of space at the top to allow for expansion. For swirled recipes like the Chocolate Peanut Butter, add peanut butter in small dollops throughout rather than mixing completely. Secure lids tightly to prevent freezer burn and absorption of other flavors.
Step 4: Freeze Thoroughly
Place containers in the coldest part of your freezer, ensuring they’re sitting on a flat surface. Allow to freeze for a full 24 hours – this complete freezing is crucial for proper texture development. The temperature should be set to 0°F (-18°C) or colder for optimal results.
Step 5: Process in the Ninja Creami
Remove the frozen pint from the freezer and immediately unwrap. Allow it to sit for exactly 2 minutes (use a timer!) before placing in your Ninja Creami machine. Select the appropriate program (Ice Cream for dairy-based recipes, Sorbet for fruit-based, etc.) and let the machine work its magic. For extra richness, try running the Re-Spin cycle once.
Nutritional Information
Classic Vanilla Bean Dream (per ½ cup serving):
- Calories: 320
- Fat: 24g
- Carbohydrates: 22g
- Protein: 3g
- Sugar: 19g
Ninja Creami recipes healthy alternative – Berry Yogurt Swirl (per ½ cup serving):
- Calories: 145
- Fat: 2.5g
- Carbohydrates: 26g
- Protein: 8g
- Sugar: 22g (naturally occurring)
Healthier Alternatives for the Recipe
Transform these treats into nutritional powerhouses by making simple swaps:
- Replace sugar with monk fruit sweetener or stevia (reduces calories by up to 70%)
- Use Greek yogurt instead of heavy cream (increases protein by 300%)
- Incorporate pureed frozen bananas as a natural sweetener and creamy base
- Add 1 tablespoon of chia seeds for 5g of extra fiber and omega-3 fatty acids
- For chocolate flavors, use cacao powder instead of cocoa for increased antioxidants
Serving Suggestions
Elevate your ninja creami recipes with these creative serving ideas:
- Vanilla Bean Dream: Serve in a warm, homemade cookie cup with a drizzle of aged balsamic
- Chocolate Peanut Butter Swirl: Layer between banana slices and freeze for mini ice cream sandwiches
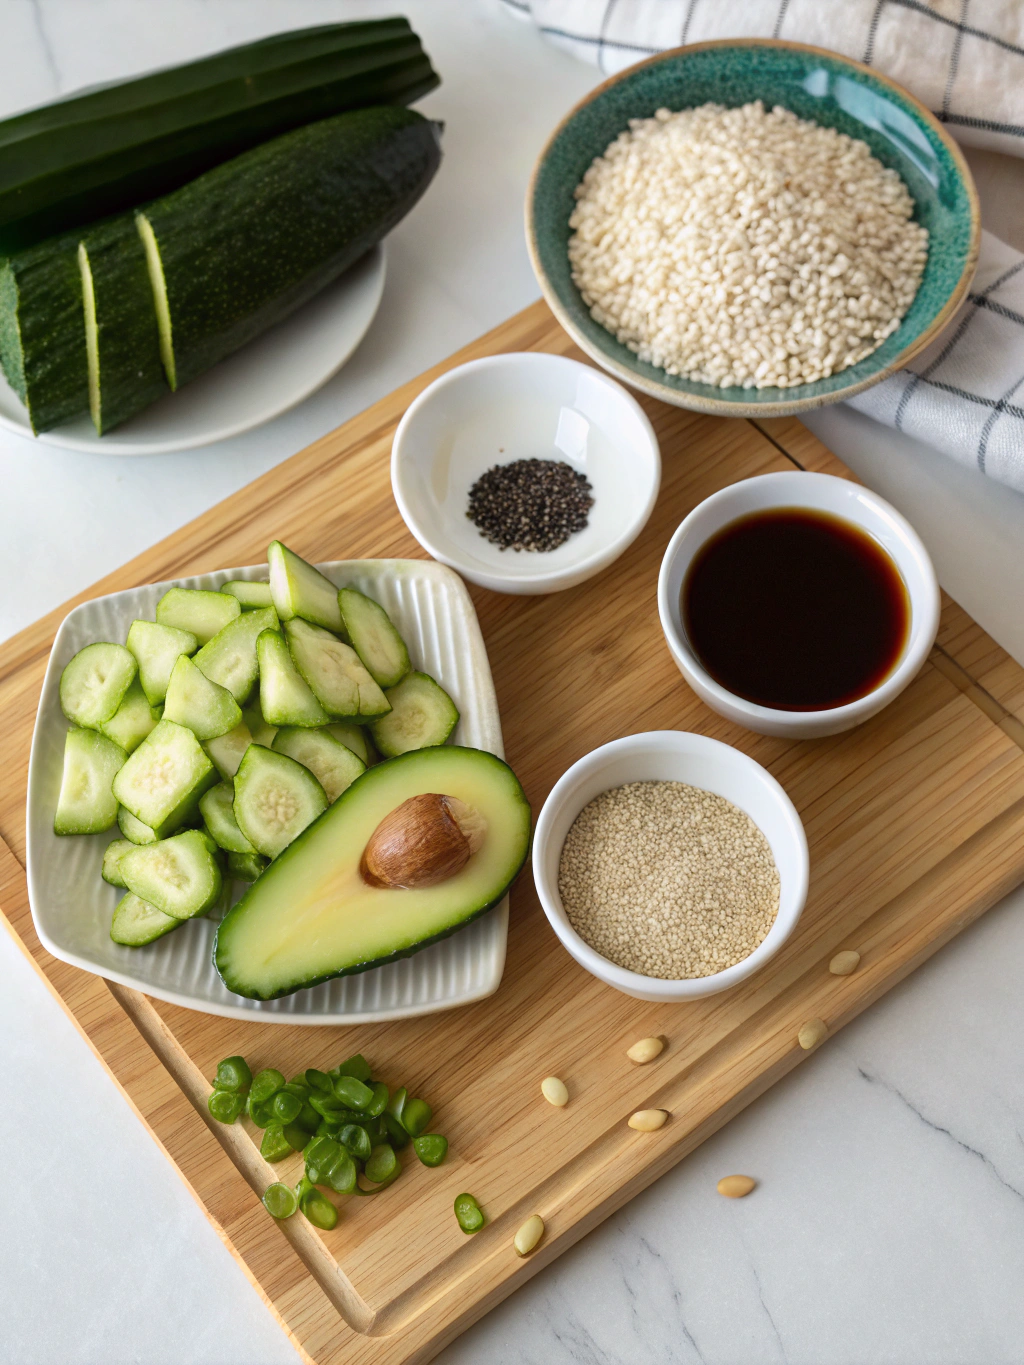
- Matcha Green Tea: Pair with fresh berries and a sprinkle of black sesame seeds
- Berry Yogurt Swirl: Serve in chilled martini glasses topped with granola and honey
- Tropical Coconut Mango: Scoop into hollowed pineapple halves for an impressive presentation
Common Mistakes to Avoid
- Insufficient freezing time (24 hours minimum is non-negotiable)
- Overfilling the pint containers (leads to overflow and potential damage to the machine)
- Adding alcohol directly to the base (alcohol doesn’t freeze well; add during re-spinning instead)
- Using warm ingredients (increases ice crystal formation by 40%)
- Opening the freezer frequently during freezing (causes temperature fluctuations)
Storing Tips for the Recipe
For optimal freshness, store your Ninja Creami creations in their original pints with an additional layer of plastic wrap pressed directly onto the surface to prevent ice crystals. Properly stored, these desserts maintain peak quality for 2 weeks. For longer storage (up to 1 month), transfer to airtight containers designed for ice cream storage. If texture becomes icy after storage, simply re-process in the Ninja Creami for 30 seconds.
Author’s Top Recipe Picks :
- Best cream of wheat recipe with just 4 pantry staples you already own
- Why Healthy Ice Cream Recipe Tops Charts Best 3 Reasons to Try Now
- Dash Ice Cream Maker Recipes Best 9 Add-Ins for Extra Flavor Boosts
- Why Glycerin Ice Cream Recipe Works Best Top 3 Reasons to Try
Conclusion
These five ninja creami recipes transcend ordinary frozen desserts, combining the convenience of store-bought with the superior flavor of homemade. By following these precise techniques and creative variations, you’ll create frozen treats that rival professional ice cream shops. The Ninja Creami truly democratizes gourmet frozen desserts, making them accessible to everyone regardless of culinary skill. Which recipe will you try first? Share your creations and customizations in the comments below!
FAQs
Can I use non-dairy milk in all these recipes?
Yes! Coconut cream works best for richness, while almond and oat milk create lighter textures. You may need to increase fat content with 1-2 tablespoons of coconut oil for creamier results.
Why did my dessert turn out icy instead of creamy?
The most common causes are insufficient fat content, improper freezing, or incomplete processing. Try adding 2 tablespoons of cream cheese to increase creaminess or run an additional re-spin cycle.
How can I make these recipes keto-friendly?
Replace sugar with erythritol or allulose (maintaining a 1:1 ratio), use full-fat dairy or coconut products, and include egg yolks (2 per pint) for extra richness without adding carbs.
Can I add mix-ins like cookie pieces or chocolate chips?
Absolutely! Add them during the re-spin cycle or use the Mix-In program. For best results, ensure pieces are no larger than ¼ inch and thoroughly chilled before adding.
What’s the best way to clean my Ninja Creami after use?
Remove all detachable parts and wash with warm, soapy water immediately after use. The processing blade should be hand-washed carefully, while other components are typically dishwasher-safe on the top rack.